The Sherpa Verdict
- • Low handicappers
- • Mid handicappers
- • Mixed groups
1. Hole 3 (par 5) – A burn cuts across the fairway, demanding a smart lay-up or a risky carry; playing left is the safer choice.
High-end Luxury (£££)
Playing Conditions
Our Strategy
Dundonald Links is a masterclass in risk and reward. Designed for major events like The Open Final Qualifying and the Scottish Women’s Open, it’s tournament-ready yet surprisingly playable. Well placed contours, clever bunkering, and shifting winds create a constant chess match between ambition & caution.
If you can trust it this is a course to let the driver go to work, if you can shape shots your day is going to geta whole lot easier. If not, then focus your attention on your approach shots, being on the right tier of the green will be the key decider between a birdie and a double bogey.
Review
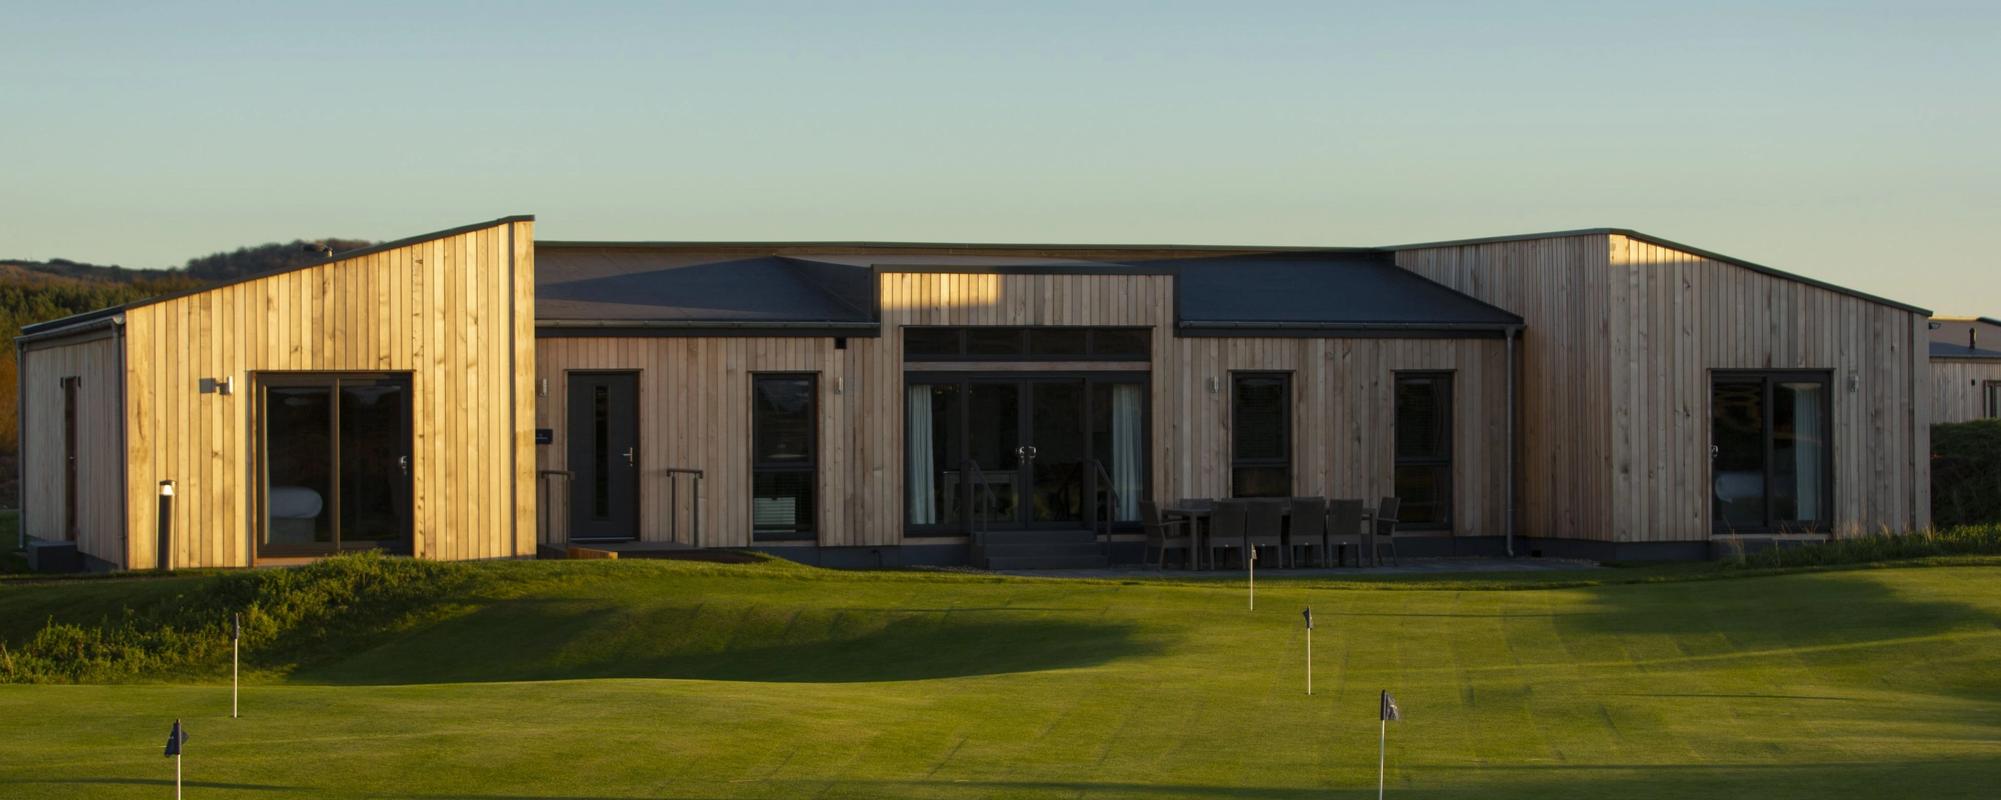
Dundonald Links is one of those rare places where you immediately feel the balance between challenge and calm. Just 40 minutes from Glasgow, nestled in arguably one of Scotland’s best golfing regions. A championship course that is the embodiment of modern links golf, wild and natural yet perfectly maintained. Whether you’re a serious player or a once-a-year golfer, there’s a sense of welcome and excitement that runs through every inch of this venue, where every feature feels planned to a tee.
Must Know Tips
- 11. Hole 3 (par 5) – A burn cuts across the fairway, demanding a smart lay-up or a risky carry; playing left is the safer choice.
- 22. Hole 9 (par 4) – Blind tee shot with pot bunkers and a forced carry to a guarded green; favour the left and take an extra club.
- 33. Hole 11 (par 3) – The infamous “Cauldron” bunker (11ft deep) makes this short hole a card-wrecker; aim right and let the slope feed your ball.
- 44. Hole 13 (par 4) – Train tracks and bunkers threaten off the tee, while the two-tier green punishes imprecise approaches.
- 55. Hole 17 (par 4) – A dogleg left that tempts you to cut the corner but hides bunkers; play safe right for a better angle into the green     .
Signature Holes
Hole 3
Dundonald doesn’t wait long before its initiation test, with a tricky first par 5 that leaves many asking’ so… where’s the miss?’ A focus grabbing burn snakes its way across the fairway for nearly 300 yards of prime landing area, forcing you to bail out left into a waiting fairway bunker, thick fescue or risk an early bath. Golf Sherpa’s guide: Not the sexiest option but lay-up short of the bunker & leave the hero shot for your second, aiming over the bushes or take the more conservative route & play one more shot on the left side of the ditch. Either way your approach should be to the left side of the green where you’ll have plenty of room to play with on a miss or if you’re lucky your ball feed nicely into the centre of the green from the raised slope.
Hole 9
While other holes tend to steal the limelight on the course this picturesque par 4 is anything but an easy finish to the front nine. A blind tee shot with lurking hazards then a forced carry to a well-protected green requires some exceptional in the moment mental gymnastics of course management. Golf Sherpa’s guide: Left is your friend on the blind tee shot to avoid the lurking fairway pot bunkers both centre & right. Then take an extra club & aim for the back of the green, taking the surrounding moat out of play & hopefully playing the back to front slope to leave you safely in the centre of the green. Don’t forget to take your bo
Hole 11
The infamous “Cauldron” bunker (11ft deep) at the back of this short hole is a card-wrecker.